Online Selection & Acquisitions
This topic describes how to locate the lists(s) containing the items you have received. It is assumed you have already created an invoice for the items and added any Special Charges and Credits. Now you need to search for the list(s) that contain the items that can be added to the invoice.
To Access Invoice Management
Log in to OSA with a Username granted adequate permissions to work with invoices.
Click the Admin button and the Administration menu displays.
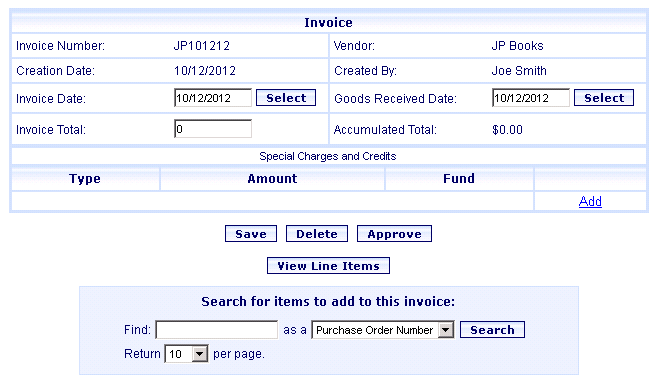
Click the Invoice link and the Invoice Management screen displays.

Type the Invoice Number you are working with, select the Vendor from the drop-down list, and click the rotating red arrow button.
Note: The Invoice Number field is case sensitive. If alpha characters are in the Invoice Number you must type them exactly as the Invoice was originally created.
If a match is found, the invoice displays.
To Locate the Selection List(s) Containing the Items Being Received
Using the Search for items to add to this invoice section at the bottom of the Invoice dialog, locate the list containing the received items that are to be added to the Invoice.
From the as a drop-down list to the left of the Search button, select whether you want to search by: Purchase Order Number, Title, ISBN, List ID, List Name, or Author).
Type the appropriate search term information in the Find box.

Click the Search button.
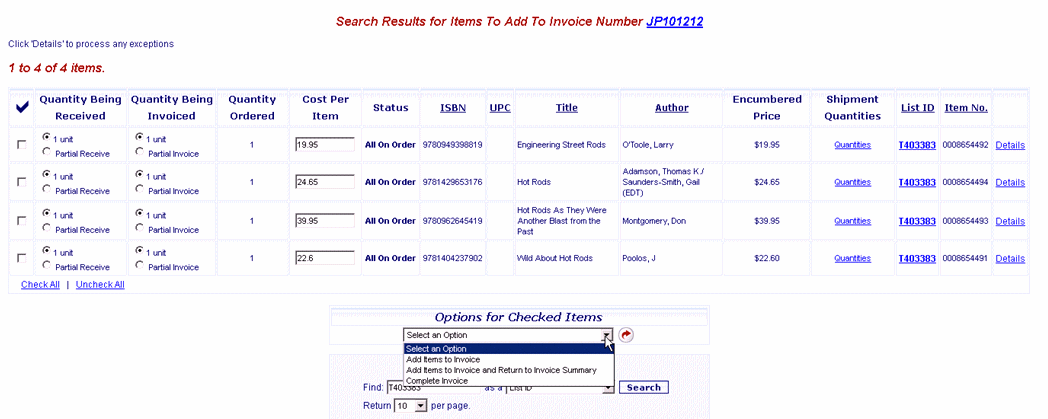
If a match is located, the Search Results for Items To Add To Invoice Number nnnnnn screen displays, as shown below.

The next step in the Invoicing process is to select an Option for Checked Items. See Add Received Items to an Invoice for instructions.
Return to: Create an Invoice