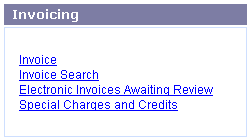
Invoicing options with:
COMBINED Invoicing / Receiving

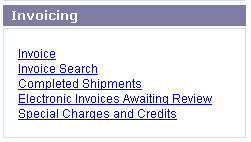
Invoicing options with:
SEPARATE Invoicing / Receiving

Online Selection & Acquisitions
When you have received an Invoice from a Vendor, the Invoice option on the Admin menu, provides system administrators and users with the appropriate Administrative permissions access to the functions used to manage invoices. Even if you do not have the items in hand, you can adjust the prices, and add the items to the invoice in preparation for receipt of the physical items. When the items are in hand you can then complete the Invoicing / Receiving process. Libraries that use the Separate Invoicing and Receiving option should see Receive Overview to learn about receiving functions associated with that option.
Note: Vendor and Fund records must be configured before Invoice Management can be undertaken.
Get Started Using Invoice Management
Log in to OSA with a Username granted adequate permissions to work with invoices.
Click the Admin button and the Administration menu displays. Depending on whether the Combined or Separate Invoicing / Receiving option is selected on the Library System Information page, the available Invoicing options on the Administration menu will be different.
Invoicing options with: COMBINED Invoicing / Receiving |
Invoicing options with: SEPARATE Invoicing / Receiving |
In the Invoicing section, click the Invoice entry and the Invoice Management screen displays.
To open an existing Invoice:
Type the Invoice Number and select the associated Vendor from the drop-down list.
Click the rotating red arrow button and the Invoice will display.
To create a new invoice, or to perform other Invoicing functions as listed below, click the appropriate link.
Option |
Instructions on How To: |
|
|
Add Special Charges and Credits See also: Special Charges - Credits Management |
|
|
|
|
|
|
|
|
|
|
|
|
|
For institutions with separate Receiving |
|
|
|
Invoicing Non-OSA Expenditures |
|
|
See also: About Separate Receiving |
|